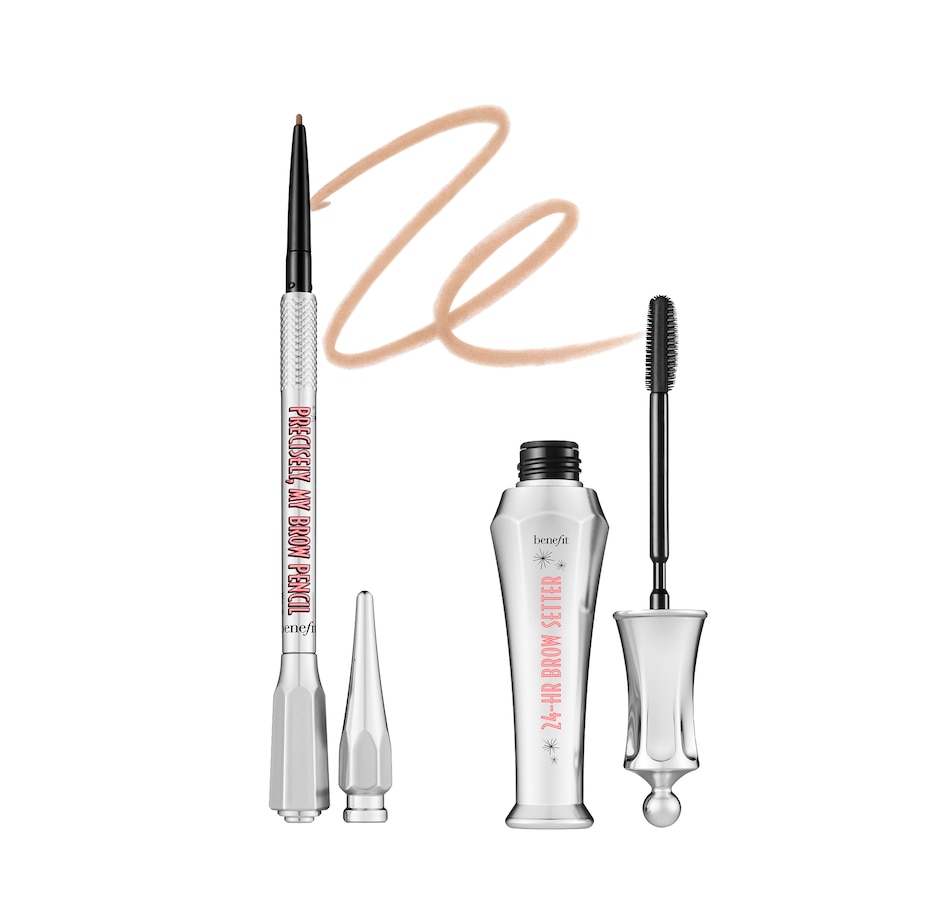
How to use Benefit 24-hour Brow Setter
- If you want to fill your brows in with a powder, pencil or pomade, do that first.
- Thoroughly coat your brow hairs using the long-bristled side of the wand.
- Use the short-bristled side of the wand to shape your brows.
- Let your brows dry and you’re good to go for (apparently) 24 hours!. Benefit 24-hour Brow Setter review: Worth the...
Full Answer
What do you like most about the brow setter?
I think the wand/brush of the brow setter is one of the best parts of the product! The wand is dual-sided, with a longer-bristled side to fully coat the brows and a shorter-bristled side to sculpt hairs into place. I use the short side to neatly tame the tail of my brow and it makes them look really tidy.
How do you guys keep your eyebrows from falling down?
I brush my eyebrow hairs up with the gel a couple of times in the morning and they’re still completely upright by the end of the day. I lightly fill in my brows with a shadow and apply this over the top. It seems to give the shadow extra lasting power, too — it fades if I don’t wear the brow setter over the top.
How do I use the benefit eyebrow brush?
BEFORE USING A BENEFIT PRODUCT, PLEASE READ THE INGREDIENT LIST ON THE PACKAGING OF YOUR PRODUCT TO BE SURE THAT THE INGREDIENTS ARE APPROPRIATE FOR YOUR PERSONAL USE. Get ready, get set! The long-bristled side of the brush evenly coats brow hairs. Use the short bristles to sculpt & shape hairs into place.

How do you use an eyebrow setter?
To evenly coat brow hairs from root to tip, apply the gel using the side of the brush with long bristles. Use the short bristles to sculpt and shape hairs into place and the precision tip to define the tail. Beauty tip: Layer Ready, Set, BROW!
How do you use Benefit brow Styler?
4:1612:13BENEFIT BROW STYLER TUTORIAL - YouTubeYouTubeStart of suggested clipEnd of suggested clipUsing the wax you can also go very light but I'm gonna be doing a sculpted eyebrow. So I'm gonna goMoreUsing the wax you can also go very light but I'm gonna be doing a sculpted eyebrow. So I'm gonna go into the powder side now and I'm gonna I like to make this end a lot darker. So just going in.
Do you put brow setting gel on before or after?
After you've filled in your brows, use a clear or tinted brow gel to keep all your handiwork in place. You spent all that time on it, so make it last! For sparser brows, you can add definition with tinted brow gels.
What are the different eyebrow shapes?
9 Versatile Eyebrow Shapes That Suit All Face Types And AgesTail arch.Centre arch.High arch.Minimal arch.Straight brows.Tapered brows.Rounded brows.Short and thick.More items...•
How do you use Mac eyebrow Styler?
0:111:33HOW TO: Amplify Sparse Brows | MAC Cosmetics - YouTubeYouTubeStart of suggested clipEnd of suggested clipUse the pencil to start making hair-like strokes filling in any gaps and sparse areas especiallyMoreUse the pencil to start making hair-like strokes filling in any gaps and sparse areas especially from the center of the brow outward. To blend or soften just use the spoolie.
What order should you apply eyebrow products?
The Ultimate Brow Makeup GuideStep 1: Examine Your Natural Shape. Find the start of your natural brow. ... Step 2: Brush 'Em Up. Using the built-in spoolie brush at the end of your Fill + Blend Brow Pencil, brush your brow hair upwards. ... Step 3: Fill 'Em In. ... Step 3: Fill 'Em In. ... Step 4: Clean 'Em Up.
How can I get my eyebrows to stay brushed up?
First, start off by brushing the brow hairs upwards in a way that lays them flat. If needed, you can use a pencil to fill in any spaces to make it look fuller. Lastly, you can use a pomade, gel or brow glue to keep the brows in place. Once you do that, you'll have clean, fuller looking brows.
Should you do eyebrows before foundation?
4. Eyebrows comes first: Use an eyebrow pencil, brow wax, to fill and groom your eyebrows. Doing your eyebrows first will frame your face and then you can decide on eye makeup and eyeshadow application. 5.
The staying power
I’ve used tons of brow gels in my time, and while they often looked nice at first, they needed constant topping up. The thing I love most about the Benefit 24-hour Brow Setter is how long it lasts. I can’t say I’ve tried it for 24 hours as it claims, but I’m confident that it probably would last a full day if I did try.
The effect
As I said, I got pluck-happy in my teenage years, but love a fluffy brow look now that I’m in my twenties. See my dilemma? Naturally, my brows aren’t exactly thick (though they’re slowly getting there) and I have some sparse areas, especially on my left brow.
The texture
Some long-lasting eyebrow gels can look flaky (I’ve used a few in my time) but this one doesn’t flake away at all. It does set them down to a pretty solid finish — if you put a couple of layers on, your brows literally feel hard. I don’t mind this though, as they don’t look hard. Plus, I guess this is how they stay put so well.
The colour
The Benefit 24-hour Brow Setter is only available in one clear shade. It’s completely transparent with no colour whatsoever, but the holding power alone gives great shape and definition. I’m surprised they haven’t brought out any coloured shades, as I think they’d be really successful!
The price
The Benefit 24-hour Brow Setter costs £22.50 for the full size, but offers do occasionally pop up. I’ve seen it selling for £18 before, so it’s worth keeping an eye on some of the major retailers and stocking up when there’s a deal on.
Full size vs mini
If you’re keen to try the product but don’t want to splash out, Benefit does offer mini versions of all their products. A Benefit Mini 24-hour Brow Setter costs £12 and still lasted me a good few months! Still, you do get much better value for money with the full-size product — so once you’ve tried it, go for the bigger size.
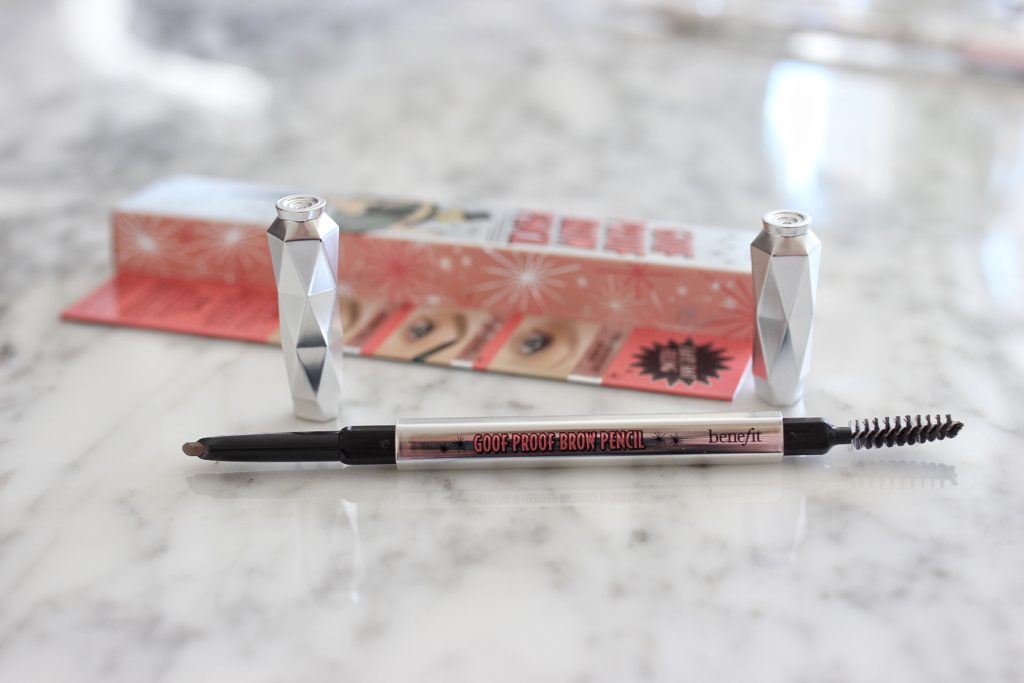
The packaging
The Benefit 24-hour Brow Setter comes in a chunky, vintage-style silver plastic tube. I wouldn’t say it’s particularly impressive, but I guess it’s prettier than your average brow gel tube. I do find that the tube gets mucky quite quickly though.